In this article we are going to learn how to make a quote generator in ReactJs.
What we are going to learn in this articles is
- React Hooks (useEffect, useState)
- FETCH
- Bootstrap(How to implement it in ReactJs)
Okay so much talking now let’s get into coding.
Hope you have NODE installed or you can download it here nodejs.org
Then create a new react project using either npm create-react-app quotegenerator or yarn create-react-app quotegenerator.
React Hooks (useEffect, useState)
In this case we are going to implement useEffect and useState ReactJs Hooks.
This will enable us effectively store data into states and also run our code after every rerendering.
UseEffect
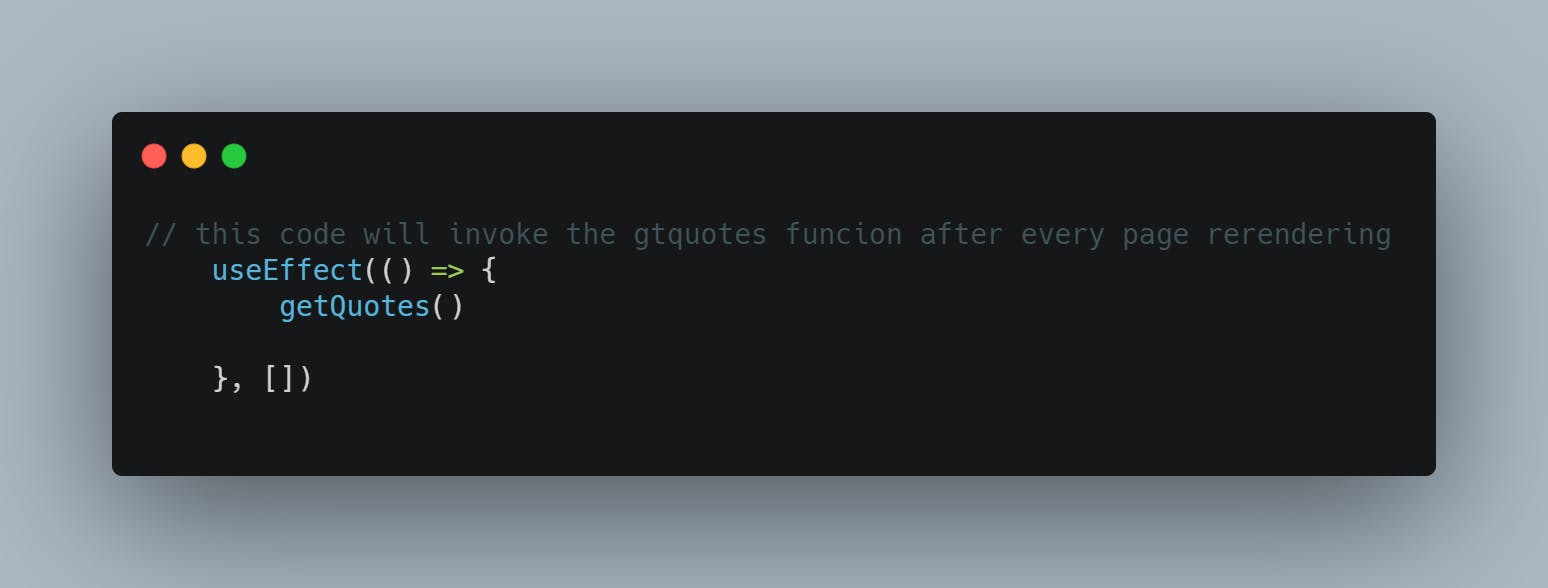
UseEffect hook enables us to run a function synchronously after page reloading or rendering. We can pass to it a function so it can run the function every time the page reloads/rerenders.
Look at the example below.

What this code will do is it will invoke the getQuotes function every time the page rerenders or reloads.
useState
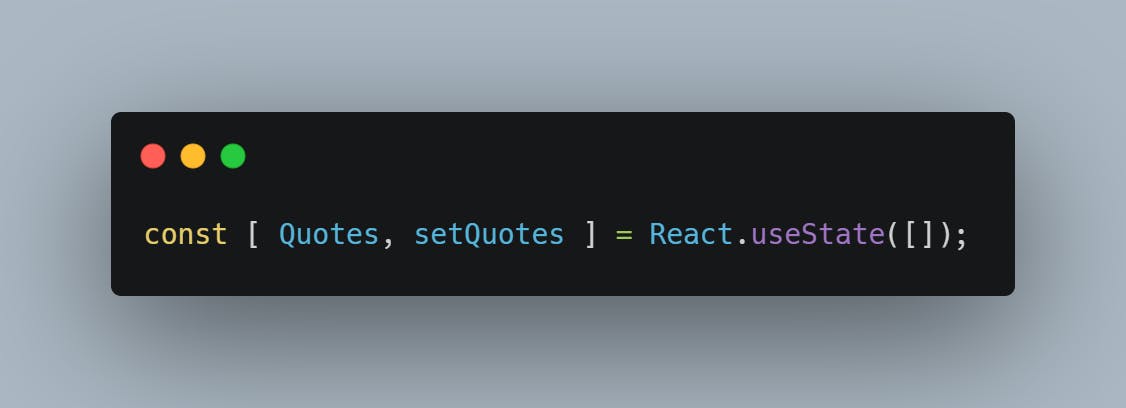
useState hook will allow us store data into state. It can also enable us update states and its properties. Look at the code below

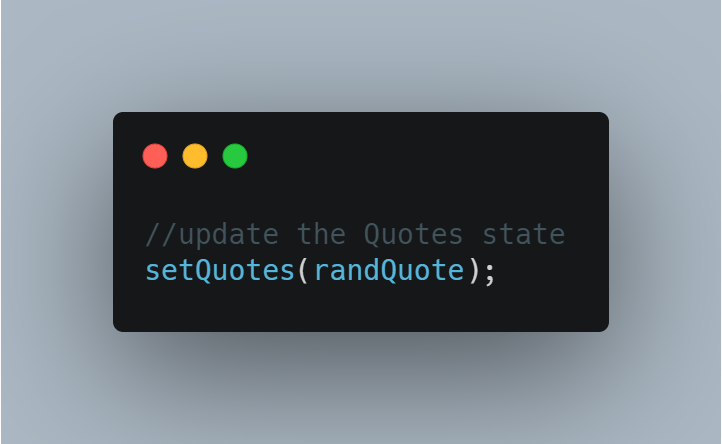
In the code above we use the useState hook that will enable us store data locally into Quotes state. We can also update the Quotes state using the setQuotes as shown below. We update the Quotes using setQuotes as shown below. setQuotes(randQuote);
FETCH
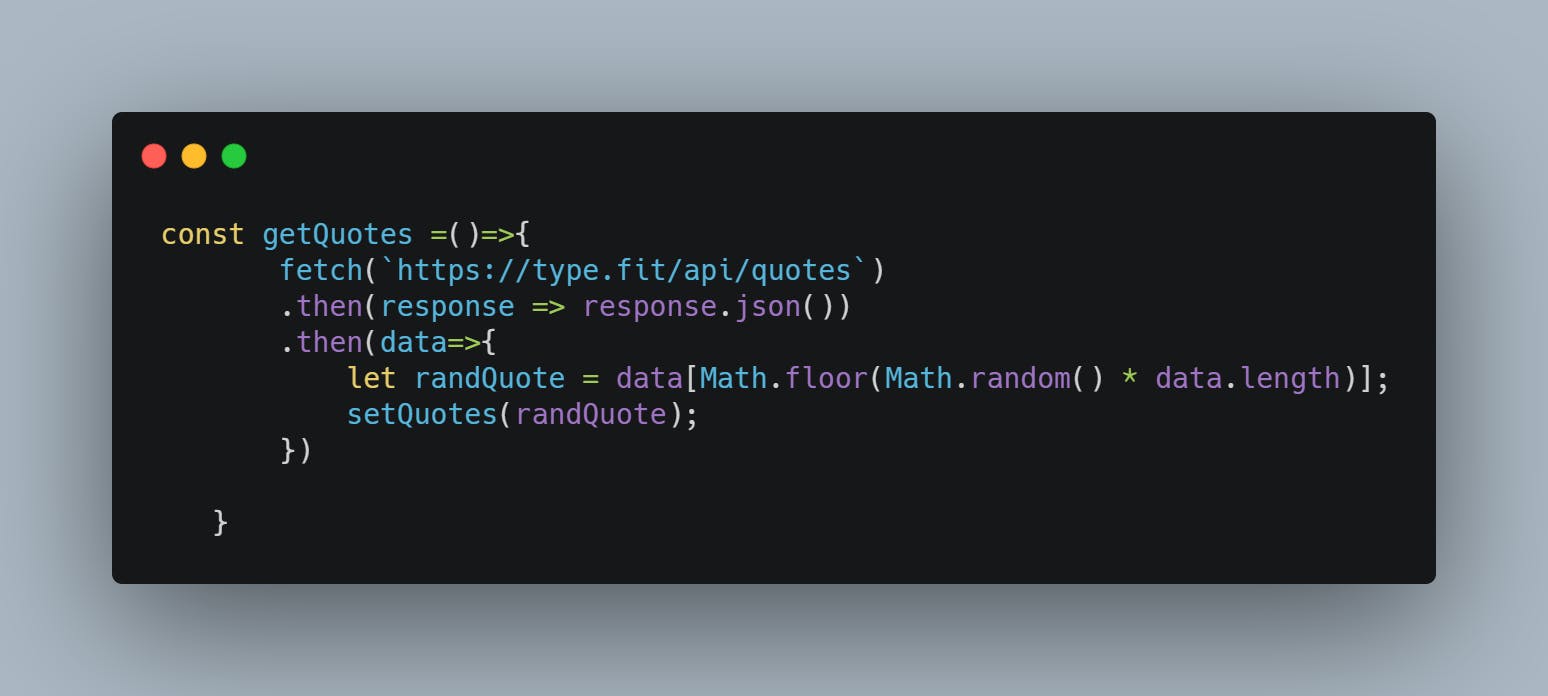
Now we are going to get the data from an API using the GET method in FETCH

The code above will fetch the quotes using the API endpoint provided and return back the data inform of JSON. After returning back the data we will initialise it to a randquote to randomize the data and then update the Quotes state.

After initializing the data into the randQuote variable we will now update the Quotes as show below with the setQuotes.

This code will update the Quote array with data from the API. To see the data we can log it to the web console.
Implementing Bootstrap
Now we have the data in the quotes state. Let’s now show it on the browser

Since class is a reserved keyword in React, for us to use classes for our CSS styling we need to use className for our CSS classes.
Now we are all set up, go to the index.html file in the public folder and add the bootstrap link as below.

The source code for this project can be found here on GitHub .
CONCLUSION
Thank you for following along, if you found this article helpful please share and drop your comments down below.
Catch you latter next week for another React project based article. Until then PEACE.
